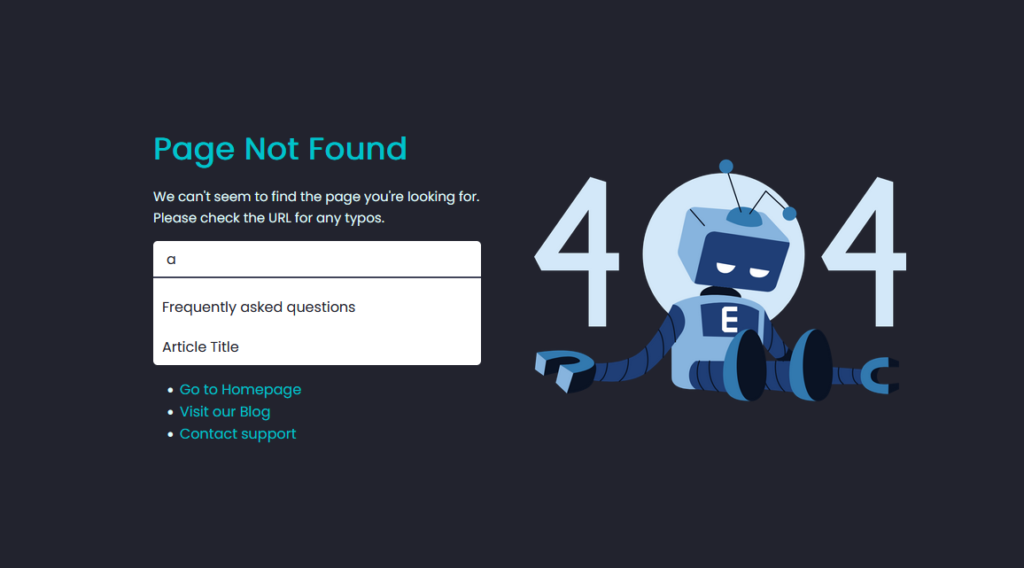
A 404 error page is what visitors see when they try to access a page on your website that doesn’t exist. Instead of leaving users frustrated with a generic error page, a custom 404 page can help you retain visitors by offering helpful navigation, a search function, or even a bit of humor to lighten the mood.
In this blog post, we’ll show you how to create a custom 404 error page for your website, providing a better user experience and minimizing bounce rates.
Why You Need a Custom 404 Error Page
A custom 404 error page is essential for several reasons:
- Better User Experience: A custom page can guide users back to your main content or suggest alternatives when they land on a broken link.
- Branding Opportunity: Use your branding elements like logos, colors, and tone of voice to keep the user experience consistent.
- SEO Benefits: A well-designed 404 page can reduce bounce rates, indirectly benefiting your SEO by encouraging users to explore other parts of your website.
Steps to Create a Custom 404 Error Page
Step 1: Design the 404 Page
The first step is to design a 404 error page that aligns with your website’s branding and provides clear navigation options.
Elements to include:
- Custom Message: Use a friendly message like “Oops! Page not found.”
- Navigation Links: Include links to important pages like the homepage, blog, or product pages.
- Search Bar: Add a search function to help users find what they’re looking for.
- Call to Action: Offer suggestions like “Visit our homepage” or “Check out our latest blog posts.”
- Humor (optional): Light humor can make the error less frustrating. For example, “Looks like you’re lost in cyberspace!”
Step 2: Create the 404 Error Page File
- Create an HTML file: Create a new HTML file called
404.html(or.phpif you use PHP for your website).
Here’s a basic template for your 404 page:
<!DOCTYPE html>
<html lang="en">
<head>
  <meta charset="UTF-8">
  <meta name="viewport" content="width=device-width, initial-scale=1.0">
  <title>Page Not Found - TechsterTech</title>
  <style>
    body {
      text-align: center;
      font-family: Arial, sans-serif;
      padding: 50px;
    }
    h1 {
      font-size: 50px;
    }
    p {
      font-size: 20px;
    }
    a {
      text-decoration: none;
      color: #007bff;
    }
    a:hover {
      text-decoration: underline;
    }
  </style>
</head>
<body>
  <h1>404 - Page Not Found</h1>
  <p>Oops! The page you are looking for might have been removed or is temporarily unavailable.</p>
  <a href="/">Go back to Homepage</a>
</body>
</html>
You can modify the HTML code to include your logo, company colors, and navigation links.
Step 3: Update Your Server or CMS Settings
Once your custom 404 page is ready, the next step is to instruct your server to display this page whenever a 404 error occurs.
For WordPress:
- Edit Your Theme’s 404.php File:
- Go to your WordPress Dashboard.
- Navigate to Appearance > Theme Editor.
- Find the
404.phpfile in the list on the right-hand side. If your theme doesn’t have a 404.php file, you can create one. - Replace the existing content with your custom HTML or PHP code.
For Custom Websites:
- Configure .htaccess (Apache Web Server):
- Open or create a
.htaccessfile in your website’s root directory. - Add the following line to point to your custom 404 page:
ErrorDocument 404 /404.htmlThis tells the server to display the 404.html file whenever a page cannot be found.
For NGINX Servers:
- Update NGINX Configuration:
- Open the NGINX configuration file, usually located at
/etc/nginx/nginx.conf. - Add the following line inside the server block:
error_page 404 /404.html;After editing the configuration file, restart NGINX using the command:
sudo service nginx restartStep 4: Test Your Custom 404 Page
After setting up your custom 404 error page, it’s important to test it to ensure everything works correctly.
- Enter a non-existent URL: Visit a random, non-existent URL on your website (e.g.,
yourwebsite.com/randompage) to see if your 404 page appears. - Check Responsiveness: Ensure the page works well on both desktop and mobile devices.
- Ensure Functionality: Test all links, buttons, and the search bar to confirm they work as expected.
Step 5: Enhance Your 404 Page with Additional Features (Optional)
To make your 404 error page more useful, consider adding:
- Popular Posts or Products: Display links to your most popular blog posts or products.
- Newsletter Signup: Encourage users to subscribe to your newsletter.
- Social Media Links: Promote your social media accounts to engage visitors who land on your 404 page.
- Custom Graphics: Use engaging visuals, such as illustrations or animations, to make the page more visually appealing.
Conclusion
A custom 404 error page is a simple but effective way to improve your website’s user experience and retain visitors who might otherwise leave after encountering a broken link. By providing helpful navigation, adding a touch of branding, and incorporating extra features, you can turn an error page into a valuable part of your website.
For more website optimization tips and expert web development services, visit TechsterTech. We specialize in creating user-friendly websites that deliver results!
For web development services and more insights, visit TechsterTech to enhance your website’s performance!