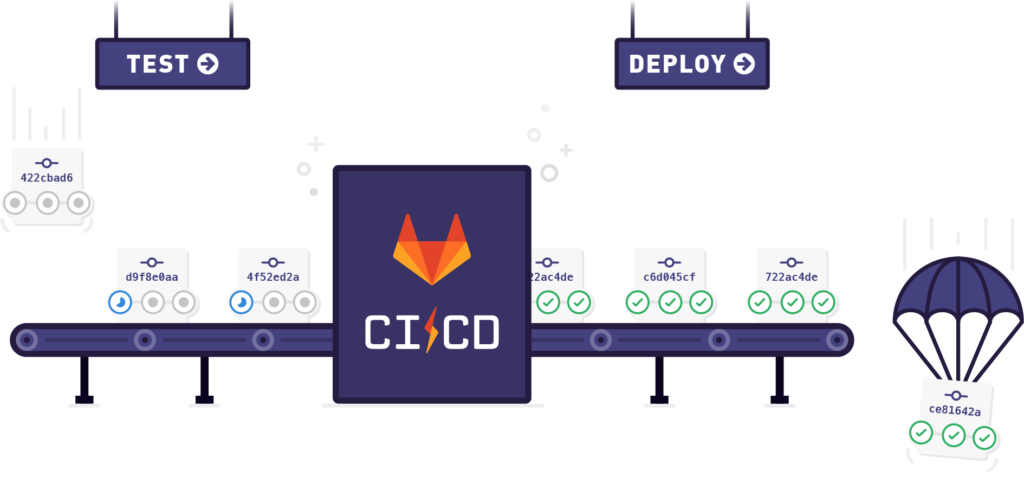
Continuous Integration (CI) and Continuous Delivery (CD) are essential practices in modern software development. A CI/CD pipeline automates the process of integrating code changes, running tests, and deploying software, enabling faster releases and reducing human error. GitLab provides built-in tools to set up a CI/CD pipeline easily.
In this guide, we will walk you through setting up a CI/CD pipeline using GitLab, step by step.
1. Why CI/CD is Important
CI/CD pipelines help automate the following stages:
- Continuous Integration: Automatically testing and merging code changes to the main branch.
- Continuous Delivery/Deployment: Automatically deploying code to a staging or production environment.
Benefits of CI/CD:
- Faster Development: Frequent code integrations and deployments make development more efficient.
- Improved Code Quality: Automated testing ensures code is bug-free before it reaches production.
- Automated Deployment: Reduces manual errors and ensures consistent deployment processes.
2. Setting Up GitLab for CI/CD
To set up CI/CD with GitLab, you need:
- A GitLab account
- A project repository hosted on GitLab
- A
.gitlab-ci.ymlconfiguration file to define the CI/CD pipeline
Step 1: Create a GitLab Project
- Sign up for a free account at GitLab.
- Create a new project by selecting “New Project” from the dashboard.
- Choose “Blank Project” and provide a project name, then create the repository.
Step 2: Add Your Code to the Repository
You can add your code to the repository by cloning the repository to your local machine:
git clone https://gitlab.com/username/your-project.git
cd your-project
Then, add your project files and commit the changes:
git add .
git commit -m "Initial commit"
git push origin main
Step 3: Create the .gitlab-ci.yml File
The .gitlab-ci.yml file is the heart of GitLab CI/CD. This file defines the stages of the pipeline, the jobs within each stage, and any commands that should run for each job.
Here’s a basic example of a .gitlab-ci.yml file:
stages:
  - build
  - test
  - deploy

build-job:
  stage: build
  script:
    - echo "Building the project"
    - npm install

test-job:
  stage: test
  script:
    - echo "Running tests"
    - npm run test

deploy-job:
  stage: deploy
  script:
    - echo "Deploying the application"
    - npm run deploy
  only:
    - main
Explanation:
- stages: Defines the sequence of stages (e.g., build, test, deploy) in the pipeline.
- build-job, test-job, deploy-job: These are individual jobs that run during each stage.
- script: Lists the commands to run for each job (e.g., installing dependencies, running tests).
- only: This restricts the deployment stage to the
mainbranch, ensuring that deployments only occur on production-ready code.
Step 4: Configure Runners in GitLab
GitLab uses runners to execute the jobs defined in the pipeline. There are two types of runners:
- Shared runners: Provided by GitLab and available to all projects.
- Specific runners: Runners set up for your specific projects or servers.
To use GitLab’s shared runners, no additional configuration is needed. GitLab will automatically assign a runner to execute your jobs.
For custom runners, follow these steps:
- Go to your project’s Settings > CI/CD > Runners.
- Register a new runner on your server or development environment by installing the GitLab runner and connecting it to your project.
Step 5: Triggering the CI/CD Pipeline
Once the .gitlab-ci.yml file is pushed to the repository, GitLab will automatically trigger the CI/CD pipeline.
You can view the pipeline execution:
- Go to the CI/CD > Pipelines section of your project.
- Here, you will see a visual representation of each stage and the jobs within the stages. You can click on each job to view detailed logs of what’s happening.
3. Enhancing the CI/CD Pipeline
Running Tests
You can enhance your pipeline by adding automated tests. For example, if you’re building a Node.js application, you can run unit tests in the test-job stage.
test-job:
  stage: test
  script:
    - echo "Running tests"
    - npm run test
Deploying to Production
You can automate deployment to production with a deploy script. If you’re using services like Heroku, AWS, or DigitalOcean, integrate their deployment commands in the deploy-job.
deploy-job:
  stage: deploy
  script:
    - echo "Deploying the application"
    - heroku deploy
  only:
    - main
Adding Notifications
You can also add notifications to your CI/CD pipeline to alert your team if a pipeline fails or succeeds. This can be done by integrating services like Slack or email notifications:
after_script:
  - if [ "$CI_JOB_STATUS" == "failed" ]; then curl -X POST -d "message=Job failed" https://hooks.slack.com/services/YOUR/SLACK/WEBHOOK; fi
4. Using GitLab CI/CD Variables
GitLab CI/CD allows the use of environment variables to store sensitive information like API keys, database credentials, etc.
To add environment variables:
- Go to Settings > CI/CD > Variables in your GitLab project.
- Add variables like
API_KEY,DB_PASSWORD, etc.
You can then use these variables in the .gitlab-ci.yml file:
deploy-job:
  stage: deploy
  script:
    - echo "Deploying with API key $API_KEY"
    - npm run deploy
  only:
    - main
5. Monitoring and Maintaining Your Pipeline
Pipeline Monitoring
GitLab provides a detailed view of all running pipelines under the CI/CD > Pipelines section. Here, you can:
- View the pipeline status.
- Inspect logs for each job.
- Retry failed jobs.
Pipeline Maintenance
To ensure your pipeline remains efficient:
- Keep jobs simple: Avoid long-running jobs that may time out.
- Parallel jobs: Use parallel execution for faster pipelines.
- Cache dependencies: Caching speeds up your pipeline by reusing downloaded dependencies.
6. Conclusion
Setting up a CI/CD pipeline with GitLab automates the process of testing, building, and deploying your software. It enables faster releases and improves the overall quality of your project. With a properly configured .gitlab-ci.yml file, you can fully automate your workflow.
At TechsterTech.com, we implement tailored CI/CD pipelines to ensure smooth and reliable software delivery for your projects. Our expert developers can help you set up a robust CI/CD pipeline, optimized for your needs.


Thanks for inspiring change
I have recommended your blog to all of my friends and family Your words have the power to change lives and I want others to experience that as well